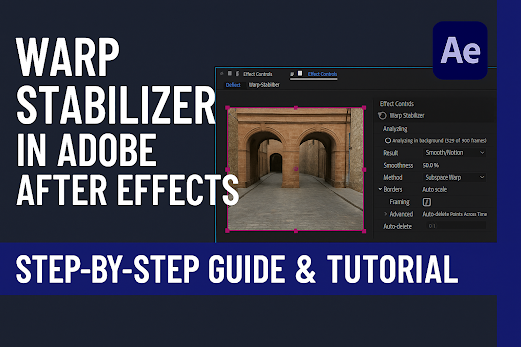
If you're tired of shaky footage ruining your perfect shot, Warp Stabilizer in Adobe After Effects is your go-to solution. This powerful built-in tool can smooth out camera movements, giving your videos a professional polish—even if they were shot handheld.
In this tutorial, you'll learn what Warp Stabilizer is, how it works, and a step-by-step guide to use it effectively. 🚀
🎯 What Is Warp Stabilizer?
Warp Stabilizer is an effect in After Effects that analyzes video footage and corrects unwanted motion to produce a smoother result. It works best with minor shakes and jitter, not massive camera movements.
🛠️ When to Use Warp Stabilizer
-
Shaky handheld footage
-
Drone videos
-
Zoomed-in shots with micro jitters
-
Action or sports shots
🔍 Where to Find Warp Stabilizer
-
Open your After Effects project.
-
Import the shaky video you want to stabilize.
-
Go to the Effects & Presets panel.
-
Search for "Warp Stabilizer" under the Distort category.
✅ Step-by-Step Guide to Using Warp Stabilizer
🔹 Step 1: Apply the Effect
-
Drag the Warp Stabilizer effect onto your video layer in the timeline.
🔹 Step 2: Let It Analyze Automatically
-
After applying, After Effects will start analyzing the footage in the background.
-
You’ll see a blue bar showing progress:
Analyzing in background (x of y frames)
🔹 Step 3: Choose a Stabilization Result
-
Go to the Effect Controls panel.
-
Under Result, choose:
-
Smooth Motion– To retain camera movement but smooth it -
No Motion– To lock the shot as if the camera was on a tripod
-
🔹 Step 4: Adjust Smoothness
-
Default is 50%. Lower values retain more motion, higher values increase smoothness.
-
Recommended range: 10% – 40% for natural-looking results.
🔹 Step 5: Choose the Method
-
Under Method, choose:
-
Subspace Warp(default): most advanced -
Position,Position, Scale, Rotation: simpler and faster
-
🔹 Step 6: Crop and Scale
-
Warp Stabilizer auto-scales the footage to avoid black edges.
-
You can turn off Auto-scale if you prefer to crop it manually.
🔹 Step 7: Preview & Fine-tune
-
Play the preview. If it looks wobbly or unnatural, try:
-
Reducing smoothness
-
Changing the method
-
Trimming problematic clips
-
🧠 Pro Tips
-
🟡 Don’t use Warp Stabilizer on pre-keyed green screen footage. Always stabilize before keying.
-
🟡 If stabilization fails, try nesting the clip in a pre-comp and applying the effect there.
-
🟡 Avoid clips with fast panning or motion blur—results may look warped.
🧩 Common Problems & Fixes
| Problem | Fix |
|---|---|
| Warp Stabilizer not analyzing | Pre-compose or re-import the clip |
| Video gets distorted or wobbly | Lower smoothness / change method |
| Long analyzing time | Shorten clip or use simpler method |
🔚 Conclusion
Warp Stabilizer in After Effects is an incredibly valuable tool for video editors, content creators, and filmmakers who want smoother, more cinematic shots. With just a few steps, you can turn jittery clips into professionally polished footage.
📌 Add Visuals
Consider adding:
-
Before/After stabilization video examples
-
Screenshots of each step in the Effects panel
-
Infographic for better understanding

